Taking care of transplants before planting in the garden
When the gardening bug bites early, you’re sometimes stuck with purchased plants that have begun growing before it’s time to plant in the garden. What do you do?

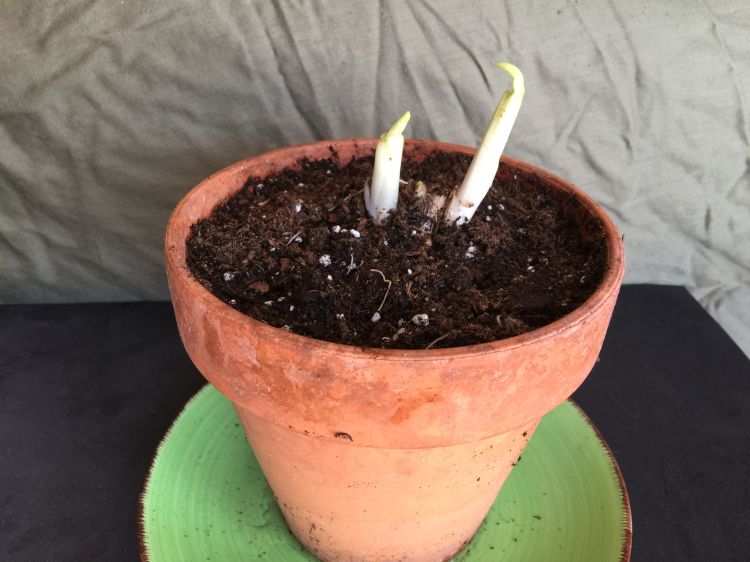
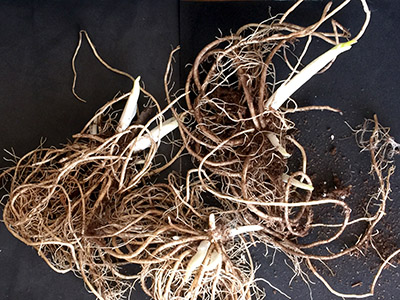
Who of us has not walked by a store display in March or April and seen those bags of dormant plant roots and crowns for sale? They are packaged in a plastic bag with a colorful cardboard label. It could be a single daylily, hosta or a bleeding heart, or three in a bag, but it’s a plant that you really want and the price is so right. The problem is when you get it home and remove the roots from the bag, you find pale green leaves or shoots pushing out of the crown. The plant has begun to grow.
Inexperienced gardeners often call Michigan State University Extension horticulture educators and Master Gardener hotlines seeking advice, but smart gardeners have this one already figured out. If the plant purchased has nothing that has begun to grow, the plant can be stored in a cool, dark location with temperatures between 40 and 50 degrees. The bag needs to be checked periodically to make sure the peaty material inside around the roots has not dried out. It is important not to get the bag contents too wet because this can cause the plant to rot.
If your exciting new plant has put out any growth, the time to keep it dormant has passed. Stores get these plants shipped to them dormant, but the warmth of the building and the length of time the plant has been there creates an artificial springtime. If you placed the growing plant in cool, dark conditions, it will probably just rot in the bag. This is not the happy garden ending you had anticipated.
You are left with only one choice now: Pot up the new plant and grow it like a houseplant. Select a pot with a drain hole and place a pebble or a piece of paper towel over the hole so the soil is not flushed out when watering. Use damp, soilless potting mix used for indoor plants to fill the container. Arrange the new plant in the center and spread roots as horizontally as possible around the plant. Use just enough soil over the roots to cover them, but keep leaves exposed. Water the plant well so some water exits the drain hole. Be sure to water all the way around the plant and not leave any dry areas.

Shoots pushing out of the crown in roots. Photo credit: Patrick Voyle
Place the plant, pot and saucer or container in bright, indirect light. This is very important if there are shoots or leaves. Those leaves began growing in near darkness and will fry and crisp up in direct sun. This is not the time to burn the plant to the ground. Check soil moisture and gradually move the plant into more direct sun in the next weeks. Do not let the plant sit in excess water that had drained through the pot and collected in the saucer under it after being watered.
The new plant can go into the garden in late May after all danger of frost has passed. Make sure the light level and other growing conditions match the plant. Remove the pot and integrate your garden soil with the potting mix. Water the plant and mulch to protect the roots. Make sure the plant receives adequate water during the growing season. That tiny plant in the pot can be quite impressive when it is moved outside 10 weeks later. This may be more difficult if you purchased a dozen plants instead of just a bag, but the extra work is worth it. Smart gardeners love a bargain.
For more information on a wide variety of smart gardening topics, visit the Gardening in Michigan website at www.migarden.msu.edu or contact MSU’s toll-free garden hotline at 1-888-678-3464. You can also visit us at the Novi Cottage and Lakefront Living Show Feb. 26-March 1 in Novi, Michigan; the West Michigan Home and Garden Show March 5-8 in Grand Rapids, Michigan; the Lansing Home and Garden Show March 19-22 in Lansing, Michigan; and the Garden Extravaganza Gardening Conference April 11 in Marquette, Michigan.


 Print
Print Email
Email


