The joy of homemade gifts: Salt-dough ornaments
 Print
Print Email
EmailInclude your children in creating special gifts for their friends, family and teachers this holiday season with this salt-dough ornament recipe.
Sensory play, activities that engage a child’s senses, play a vital role in early childhood development. It helps children explore the world, build fine motor skills, and strengthen cognitive abilities. When kids knead, roll and shape dough, they’re not just having fun! They’re improving hand-eye coordination, enhancing creativity, and learning problem-solving skills. Sensory experiences also support language development as children describe textures, shapes and actions during play.
There’s nothing more meaningful than a homemade gift from a child. One timeless favorite is salt-dough ornaments. Beyond being fun, creating and working with dough supports children’s development in many ways. When kids squish, roll, mold and cut, they strengthen the small muscles in their fingers. As they chat with you or siblings, they build social skills. Measuring and mixing ingredients introduces math concepts, and so much more!
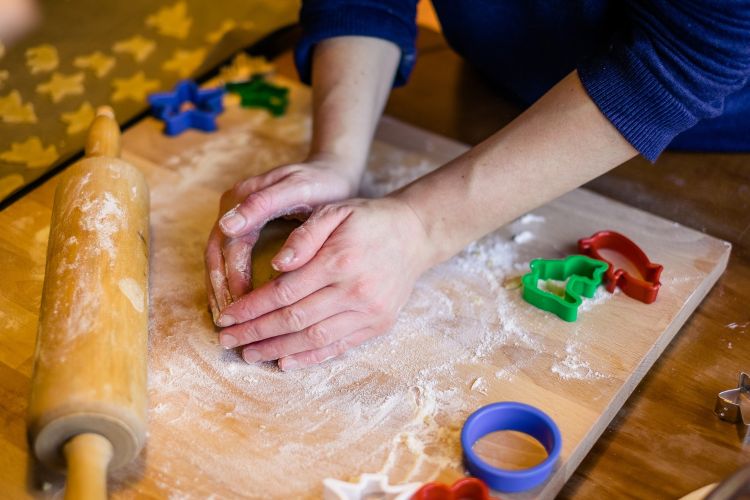
Salt-dough is a type of playdough that hardens when baked, making it perfect for ornaments and keepsakes. Typically, you roll out the dough, cut shapes with cookie cutters, bake and decorate. It’s simple, affordable and endlessly customizable. Michigan State University Extension offers this easy-to-follow recipe this holiday season!
Salt-Dough Ornament Recipe
Ingredients
- 1 cup flour
- ½ cup salt
- ½ cup water
Directions
- Preheat oven to 250 degree Fahrenheit.
- Combine flour and salt; mix well.
- Add water and stir until fully combined.
- Sprinkle flour on a table or parchment paper. Knead dough until soft and easy to handle (add flour if sticky).
- Roll dough to ¼-inch thickness using a lightly-floured rolling pin.
- Cut out shapes with cookie cutters; transfer to an ungreased baking sheet.
- Use a straw to poke a hole for hanging.
- Bake for 2–3 hours or until completely dry.
- Cool completely before decorating with paint, glitter or other embellishments.
- For durability, seal with clear acrylic varnish to protect against moisture.
Creative variations
- Handprint keepsakes: Press children’s hands into the dough before baking for a lasting memory.
- Stamped designs: Use stamps (with or without ink) for unique patterns.
- 3-D creations: Shape dough into small sculptures—just bake longer for full drying.
Want more ideas and insights on how playdough supports learning? Check out the National Association for the Education of Young Children’s article, “Playdough Power.”