


Food Pantries
Food pantries are vital community hubs, connecting people with food, essential items and supportive services.
This webpage features two practical guides designed to help pantry staff and volunteers increase access to nutritious foods that guests want and will use.
One guide focuses on client-choice pantry models, which empowers guests to choose their own food with dignity.
The other explores garden to pantry partnerships, connecting local growers with pantries to increase access to fresh produce.
Both guides offer real-world examples, planning tools and step-by-step strategies to support changes that fit a pantry's space, capacity and community needs.
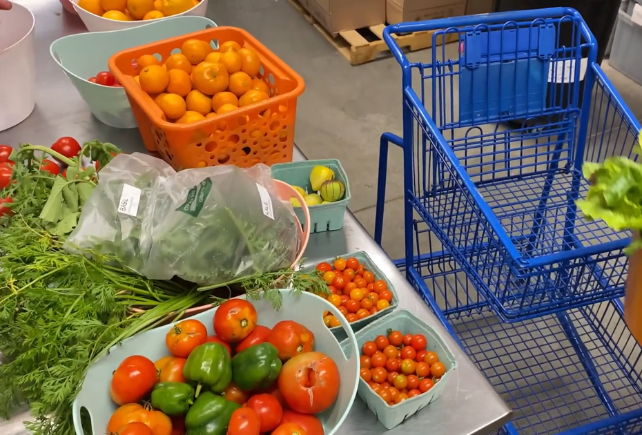
Client Choice Food Pantries
Learn how food pantry community champions can use the client choice model to connect clients and their families with the foods they enjoy.
Go To Page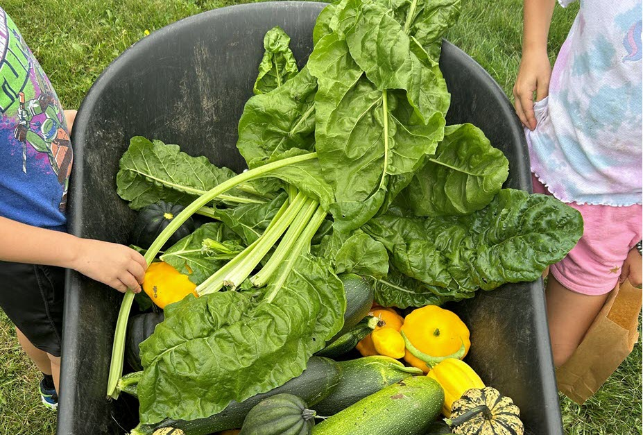
Garden to Food Pantry Partnerships
Food pantry community champions can increase the availability of fresh produce by partnering with community donation gardens.
Go To Page Print
Print Email
Email